For those of you lot who are non familiar with the Unmarried Post Template nonetheless, the single post determines the layout of your blog posts.
Custom single mail templates enable you to utilize unlike layouts for different blog posts — allowing you to apply different designs to specific posts. For case, think of a barber's website. You lot could utilise unlike templates for review posts, news posts, auction posts, case report posts, etc.
With Elementor, yous can utilize dynamic widgets to build the weblog mail service template. And, to brand it easier to design live, you tin preview the template with any of your previously created blog posts. This manner, all the dynamic widgets go populated with actual content from your site. Here is an article explaining how to use a single post template.
Fifty-fifty after you lot publish a single template, you can admission whatsoever specific web log mail service that uses the template and blueprint it farther with Elementor.
To create custom mail service templates in WordPress manually, you volition demand to exist an avant-garde user with noesis of coding, CSS, and WordPress file manipulation. This method is not brash for beginners.
Before you go along, we recommend that you make sure you are using a child theme so every bit not to mess upwards your current theme and take a default theme to go back to.
i. The first thing you lot demand to do is to create a new file. You tin do this past opening a text editor (like Notepad), give it a new name (something like my-template), and salvage it every bit .php.
2. Next, copy this code and paste information technology into the file, and salve:
<?php
/*
* Template Name: (enter the template proper noun here)
* Template Post Type: (enter the post blazon: post, page, production, etc)
*/
get header(); ?>
3. Now, you demand to upload this file to your WordPress folder, using an FTP solution.
iv. Once done, go to your WP admin and login. From here, go to create/edit post.
5. Scroll downward to Post Attributes and select a template.
6. Here, you will see your template. However, since information technology'due south new and you haven't added annihilation to it, you will see that it's empty. To remedy this, information technology'due south best to copy the lawmaking from the existing theme'southward template information.
seven. Open up the unmarried.php file and copy everything after the get_header() line and paste it in your template, in the cease, afterwards the get_header() line. Salve the file and upload it back to the server.
eight. Now you can start editing it. Using your coding skills.
Equally y'all may know, Elementor is already capable of helping you redesign your headers and footers. But that's merely the tip of the iceberg…
Some other great matter that you tin practice with the ii.0 isbuild yourself an entirely new unmarried post template with the use of the Elementor Theme Builder. No need to become your hands dirty playing with source code.
In this tutorial, I'yard going to bear witness you exactly how to do that. You'll exist amazed at how easy it is.
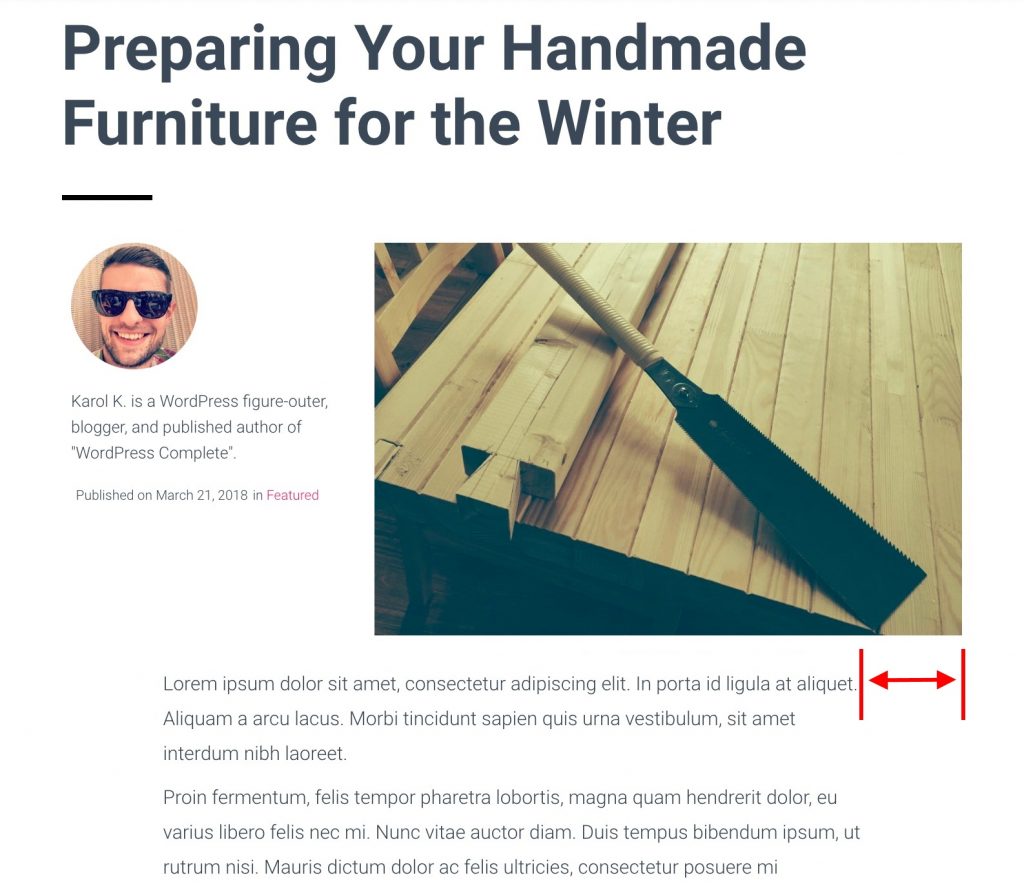
Here's the final result we're going for:
Annotation- this is simply an example single post template that you can build. You lot tin find other Elementor blog templates here.
The procedure presented below is universal, so you can create other structures and designs as well. You're but limited past your imagination.
To get the obvious out of the way first, it looks cracking, and you tin can customize it freely just like any other creation built with Elementor. You go to utilise the same set of features, elevate-and-drib interface, and all the content blocks that Elementor gives y'all unremarkably.
But there'south more:
- Multiple Elementor single postal service templates. You can create multiple unmarried mail service templates and have them running adjacent.
- Designated templates per category. Yous can have unlike templates for different types of posts or different categories.
- Build in one case and set off across site. Yous tin enable whatever of your templates on even a single blog mail service, or you can apply it across the board for all posts.
- Add together boosted elements. You get additional elements that you can add to the template, such as social media buttons, author blocks and more – stuff that might not be bachelor in your electric current theme by default.
- Edit in real time. You can edit your template in real time while looking at a live preview containing your actual web log data, instead of some dummy, placeholder content.
- Consistent blog template. The template won't vanish when yous update the theme.
Okay, let's get on with the how-to:
Merely a couple of things:
- a working WordPress website + your favorite theme,
- the free Elementor plugin,
- the Elementor Pro improver plugin.
Installing both Elementor and Elementor Pro is pretty straightforward as far as WordPress plugins go. The only additional step to go Elementor Pro running is to enter your personal license key on the plugin's settings folio:Elementor → License. At this stage, y'all tin begin building your new single post template.
- First things first, yes, you all the same need a WordPress theme to brainstorm with. Elementor doesn't replace your theme but rather works alongside it, simply improving on this and that.
- Also, don't worry nearly losing your theme's default single mail template. What we're doing here won't delete whatsoever of your theme's files. If you ever want to come up back to that standard template, you tin can.
Earlier we become to work with Elementor, let's make sure that y'all take at least 1 complete, representative mail on your blog. Meaning, something that y'all consider an excellent case of what your average blog post looks like.
We're going to use that postal service when previewing your new template. We're doing that just so nosotros become to work on some real content, instead of having to rely on half-empty posts.
With that out of the way, allow's begin building the template.
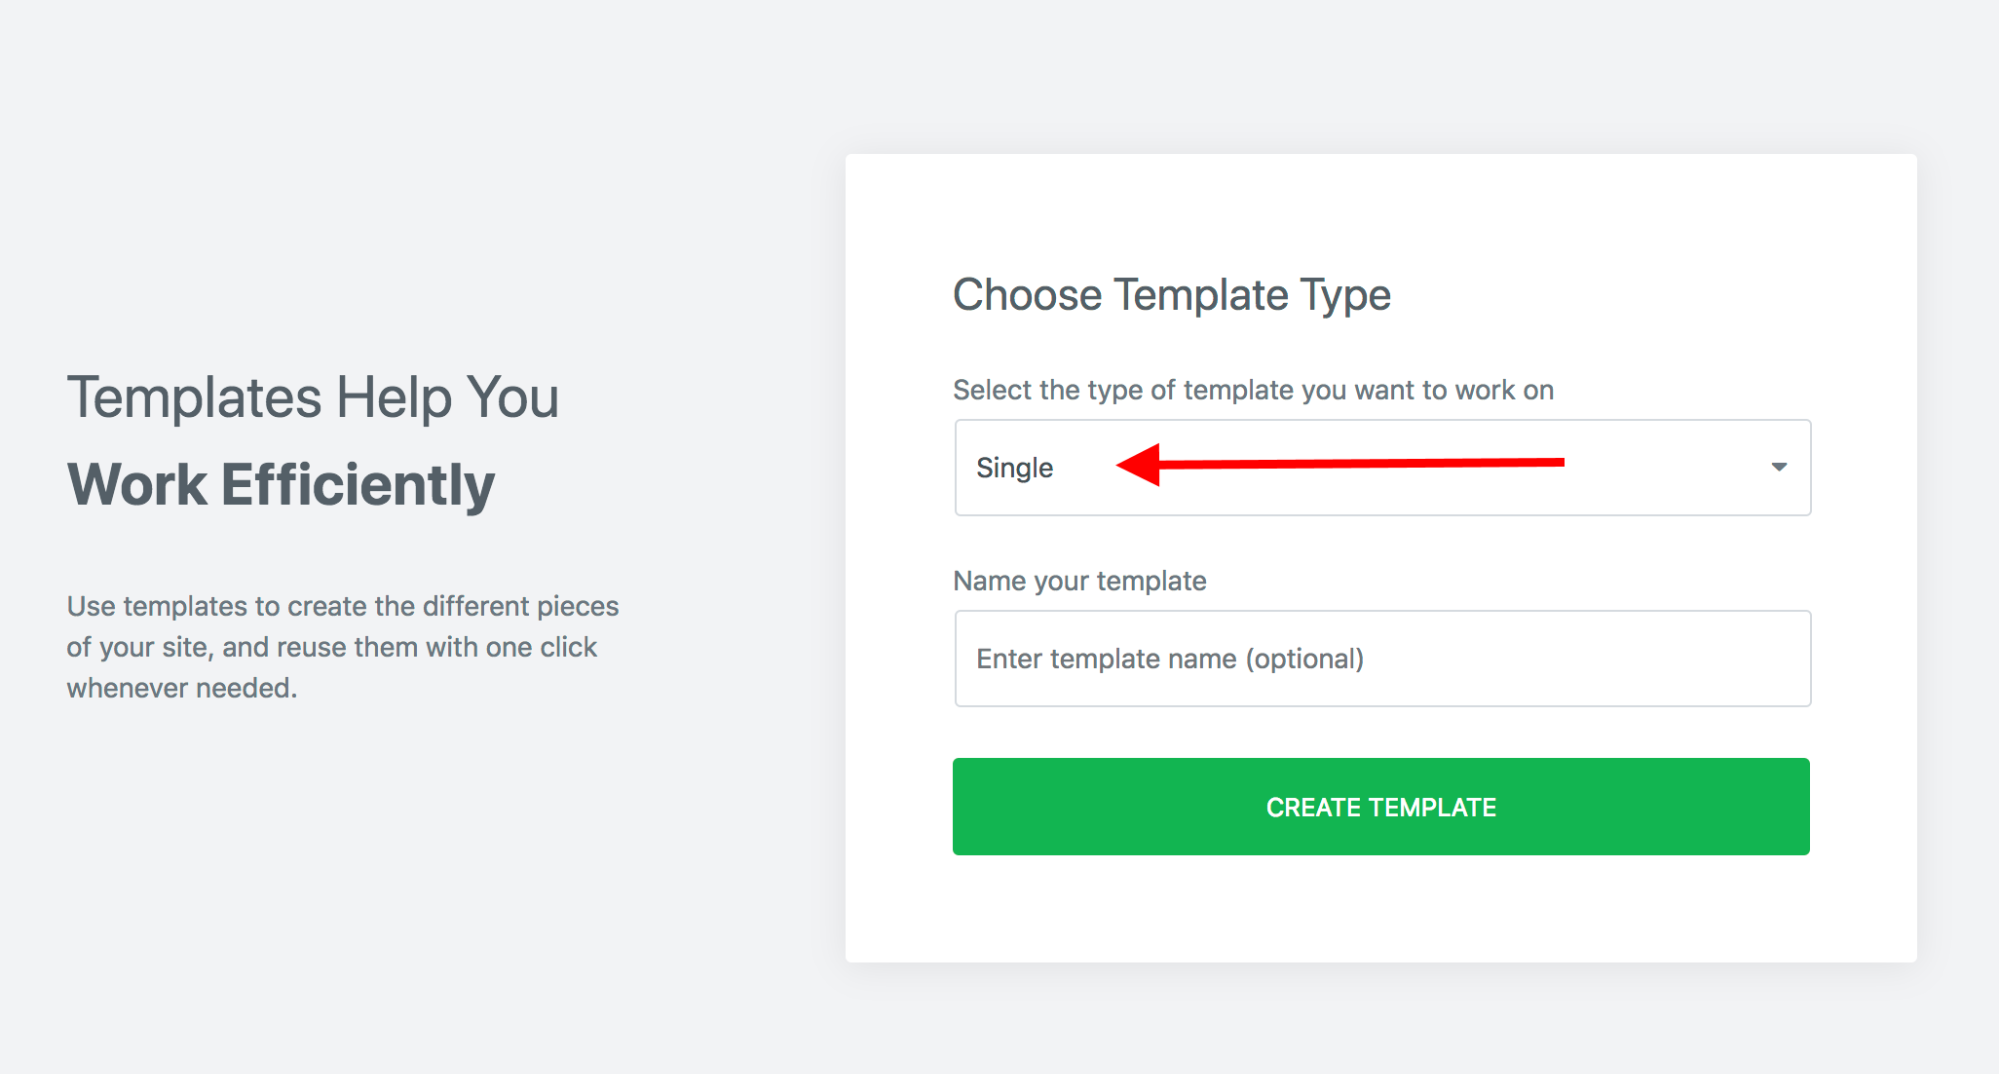
Become to Elementor → My Templates and click on the "Add New" button. Choose "Single" every bit your template blazon and click on "create template."
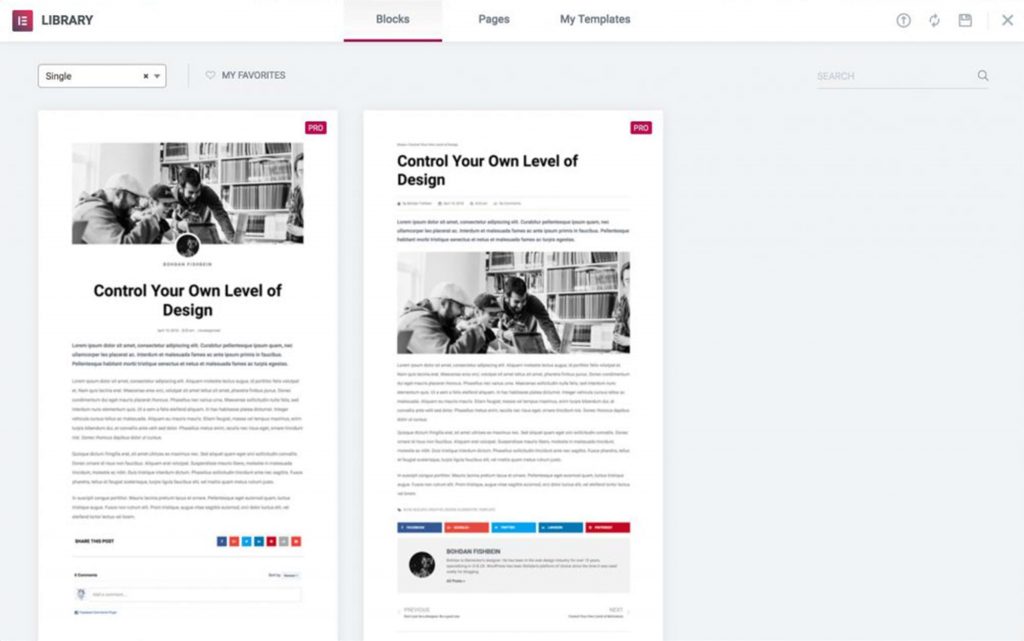
In the next step, Elementor will ask you if you want to start with any of the available predesigned blocks.
Yous are free to check how those look and perhaps even utilize one of them as your new template. Even so, in this tutorial, nosotros're going to build a new template from scratch – just then nosotros can acquire all the ins and outs of the procedure better.
(Notwithstanding, I do accept a downloadable template for you at the lesser of this guide, in example you don't accept the time to become through the procedure on your ain.)
When y'all run into that pop-up with the templates to choose from, you can just click on "x" and shut it. This will country yous at the bare Elementor canvas.
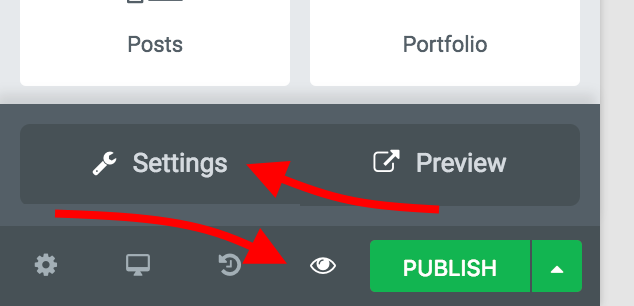
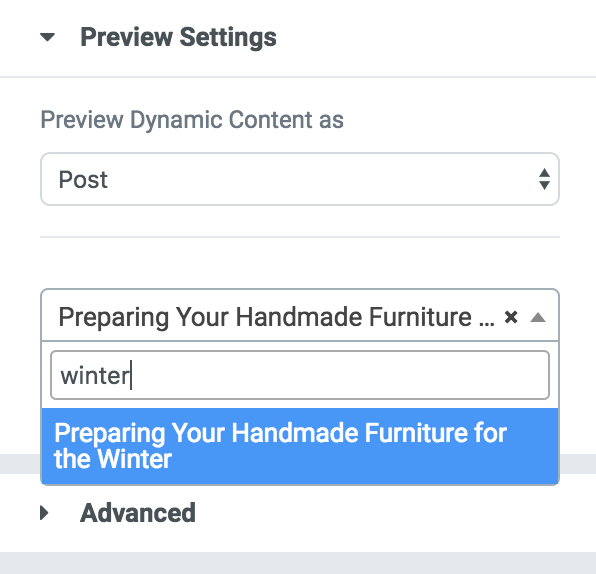
At this stage, let'south hook upwards the preview to ane of your live posts. For that, click on the preview icon in the bottom left corner, and so on Settings:
From the Preview Settings box set "Preview Dynamic Content as" to "Post" and then choice that one representative post of yours that I told y'all to fix earlier.
This will populate the preview window with the postal service'due south data.
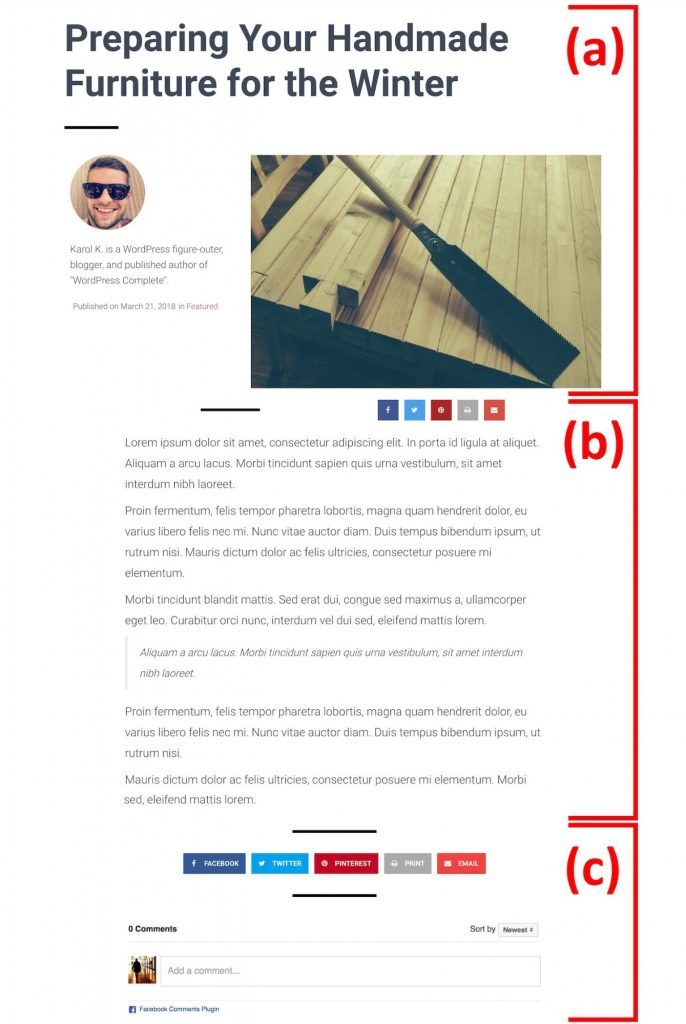
Before nosotros motility onto the next step, hither'due south a quick wait at the structure that nosotros'll use for our single mail template:
As yous can see, three main sections in that location:
- (a) – the head section
- (b) – the post trunk section
- (c) – the comments section
We're using this structure merely to brand things easier to grasp. Lumping everything together in a unmarried section might be too disruptive to follow.
Allow's now build each section one by ane:
The head section contains a scattering of important elements:
- the headline of the post
- the writer box – author epitome and biography
- the post meta – publication appointment and category
- the featured paradigm of the postal service
All of those elements are quite easy to add, which you'll encounter in just a minute.
Let's start by adding a new single-column department.
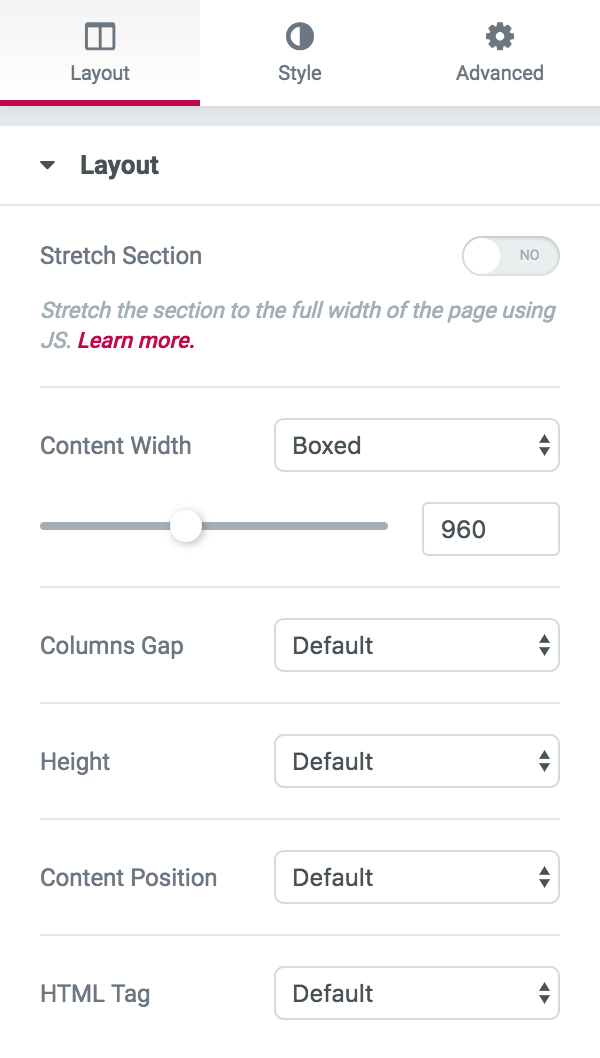
Here are the settings I similar to employ for that:
- I personally like to get for a minimal style that helps my content stand out on its own, so I tend to avoid any "flashy" elements.
As you can see, the only settings I've set up are:
- Content Width – Boxed
- Width – 960px
I've constitute that to work well for my electric current theme. Of course, you tin pick a dissimilar value, but permit's simply stick with that for at present. We tin come dorsum to customize the widths subsequently when we accept all the elements in place.
If your theme forces some leftover background that doesn't wait right, y'all can also go to the Style tab and set the background color to white.
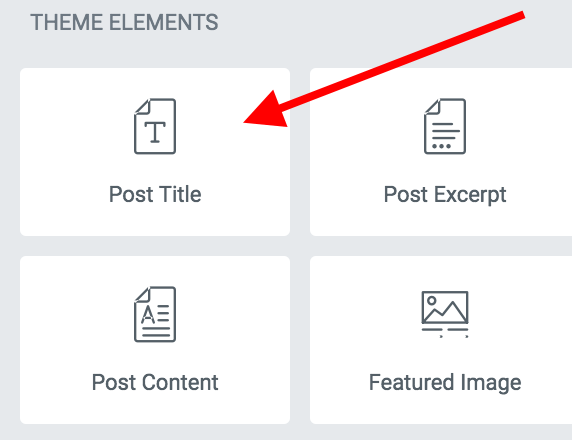
Elementor 2.0 comes with some new content blocks that are going to exist really handy when building this new single postal service template. Let's start with the block simply chosen Post Title. Drag and drop it onto the canvass.
Here are the settings I'm using:
- Content tab: Alignment – left
- Mode tab: Text Color – blackness
- Way tab: Typography: Size – 65px, Weight – 600 (large fonts tend to piece of work well for headlines)
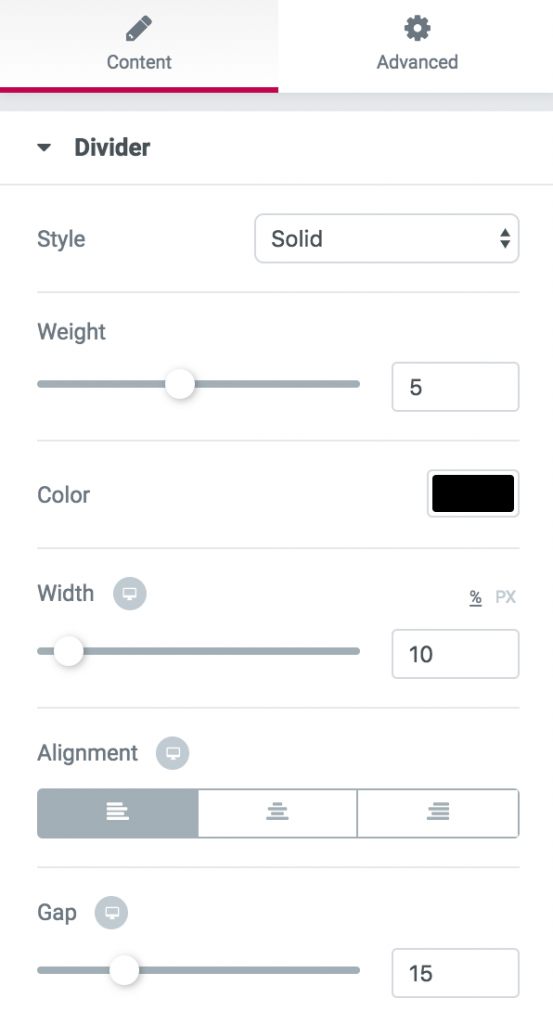
Next, I'm adding a elementary divider to add some visual separation between the headline and the balance of the caput section.
This section is optional, so if you don't want to showcase any author info or if you're not using featured images on posts, you can skip to the next step.
However, I recall that featured images and author info add a lot of personality to a blog post, which should help build a relationship with your readers.
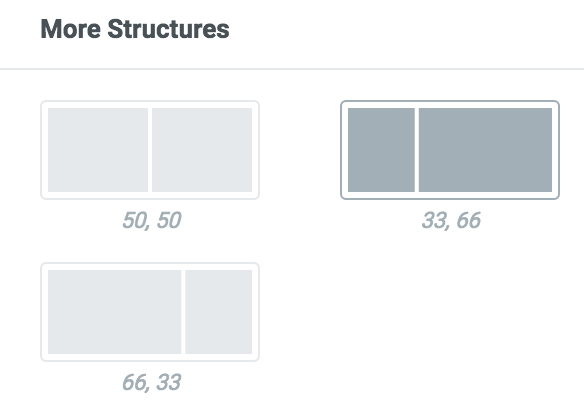
Let's start by adding a column block right below the divider.
Use the "33, 66" structure for the columns.
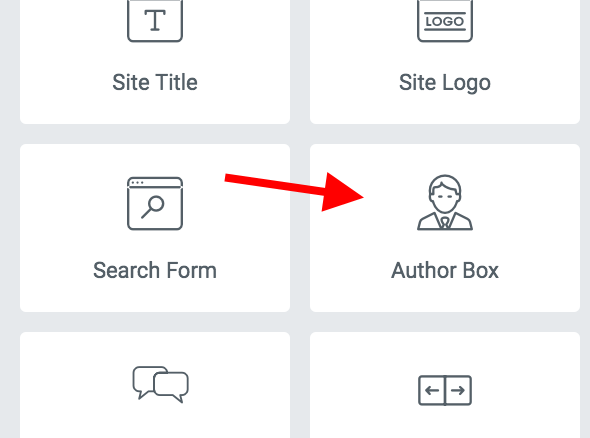
The cavalcade on the left is where we'll put the writer box. To do that, observe a content block calledAuthor Box and drag and driblet it into identify.
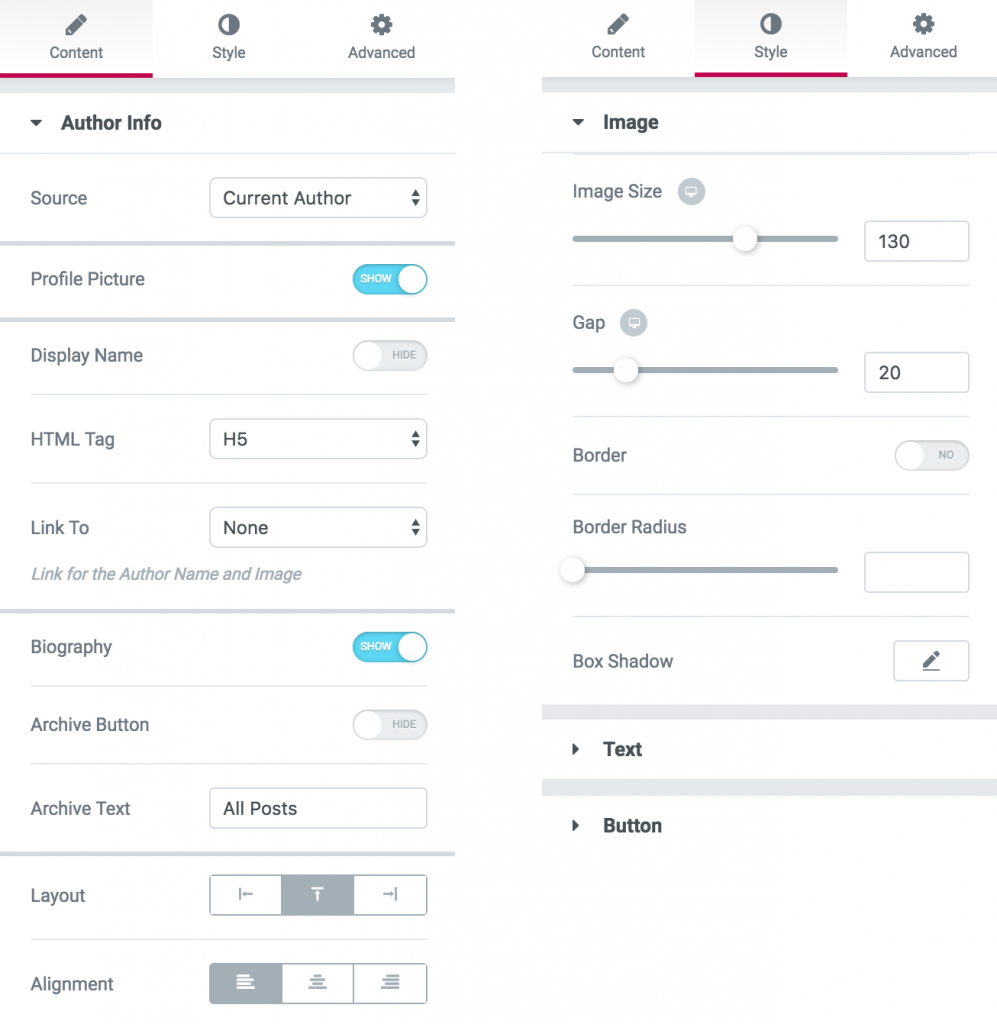
Here are the settings that I like to utilize for this block:
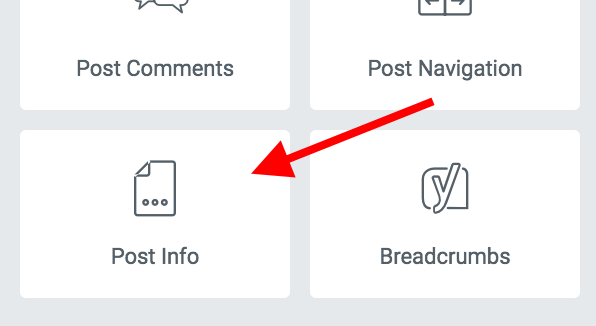
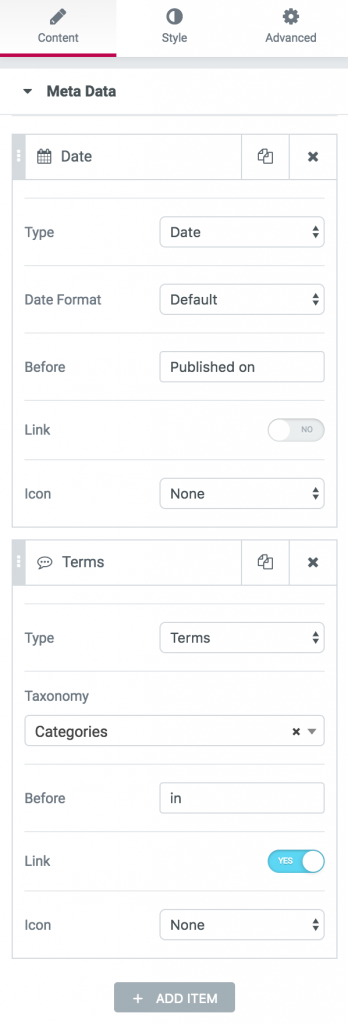
For the post meta, nosotros'll utilise a content block chosenMail Info. Drag and driblet that 1 right beneath the author's.
Here are the settings I use:
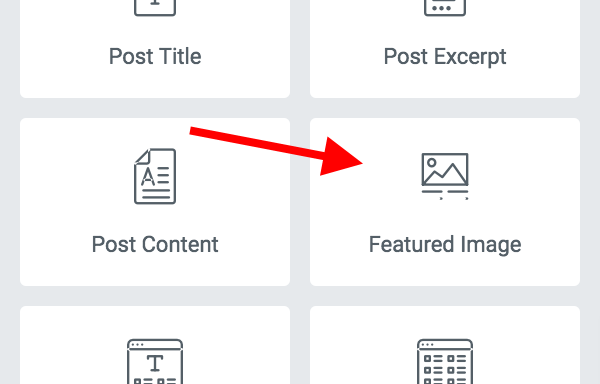
Finally, let's take care of the featured image.
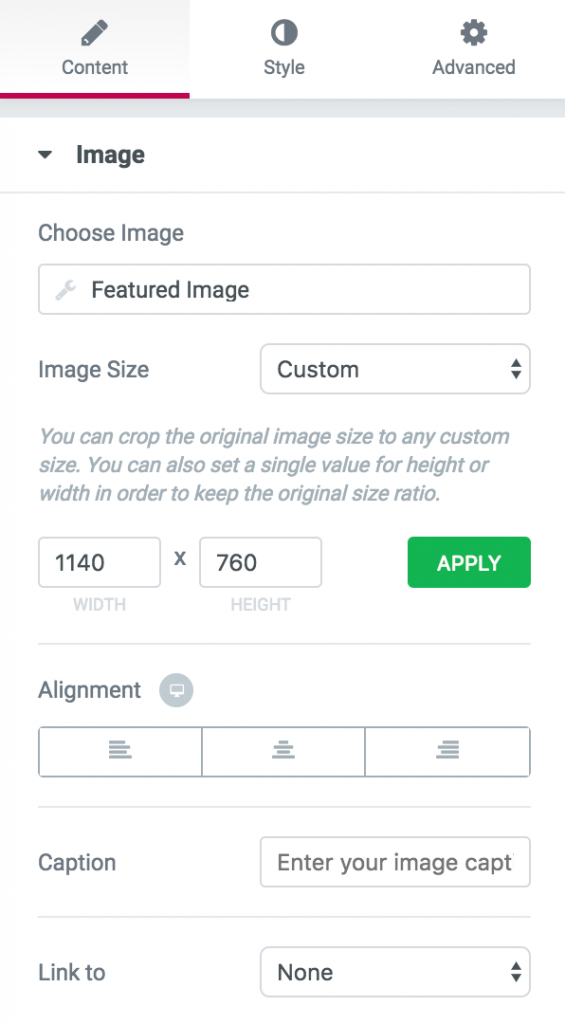
This ane we'll place in the right cavalcade. Find a content block calledFeatured Image and drag and drib it into place.
Of class, yous are gratuitous to experiment with dissimilar image sizes based on the type of featured images that you utilise.
The complete caput department in action:
Let'southward start by adding one more standard single column section to the page.
At present the of import part – the settings of the section. The only things I adjust are:
- Content Width – Boxed
- Width – 750px
At present, why the 750px? I desire this to be roughly 200px less than the width of the first department (which was 960px). This will give me a dainty, narrower await for the main content block as compared to the head section.
A pull a fast one on like that makes the main content pop more and creates a nice visual break point between the head and the rests of the post. Hither's what I mean – what it's going to look like when we're washed:
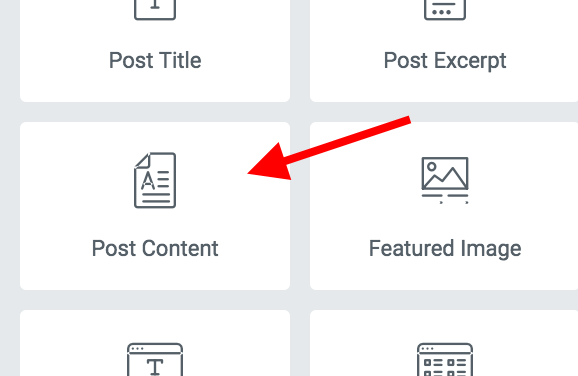
For the mail service content itself, we're only going to employ a cake calledPost Content. After you elevate and drib it into place, it's basically good to go!
If you want to, you lot tin can experiment with theTypography settings to make sure that the text is clearly readable. You might not want to alter the font itself, but rather experiment withSize andLine-Height.
Ane optional thing that I similar to do is add some pocket-sized social media buttons correct above the main content of the mail.
In this detail case, I do this by adding a newColumns cake immediately above the mail service content. So:
- put a divider in the left column (y'all can clone the one you used in the head section of the template),
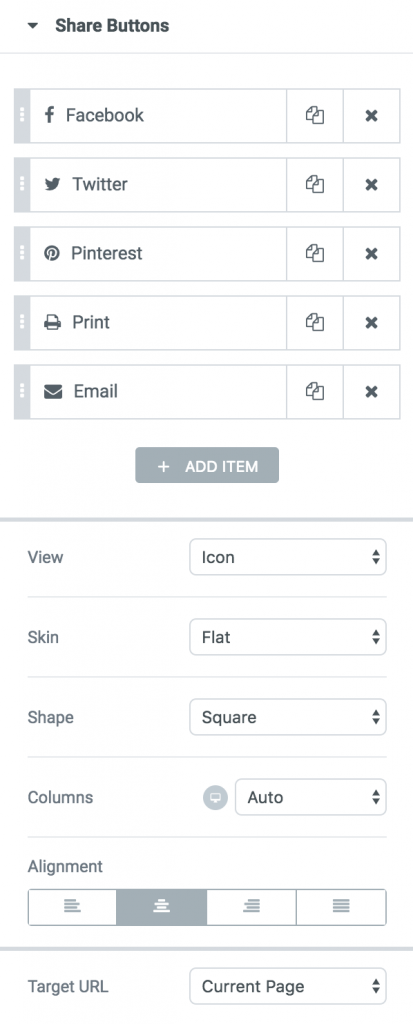
- put a block calledShare Buttons in the correct column.
These are the settings that I use for the latter:
And here'south the concluding effect – the body of the post and the social media block above:
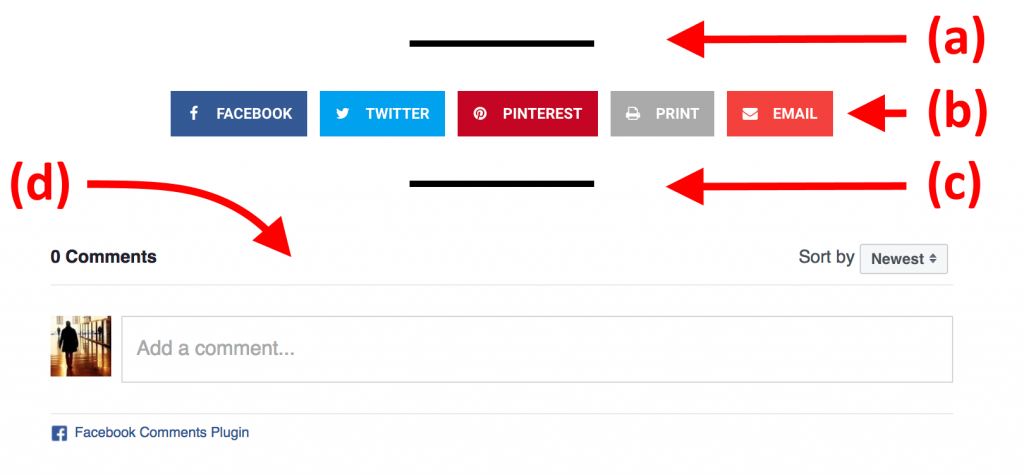
This is the terminal section of our new single post template.
The best way to get started here is to clone the previous section and and so remove every content block that's in it. That style, we're retaining the chief settings of the section, and it'southward however quicker than starting from scratch.
Since now you're pretty used to the procedure, let me just show you the specific blocks that I placed in this department:
- (a) – Divider
- (b) – Share Buttons
- (c) – Divider
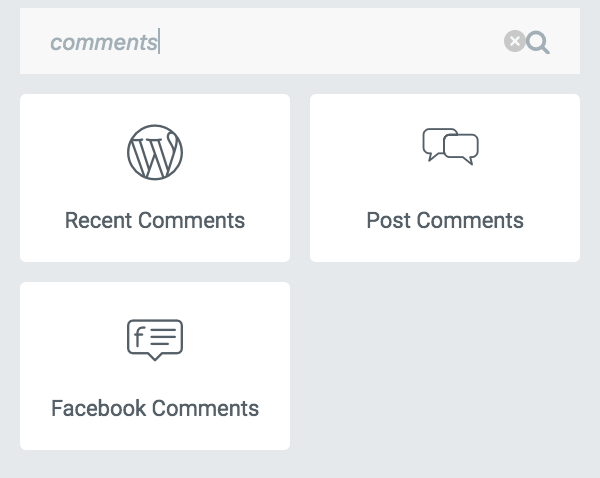
- (d) – Facebook Comments
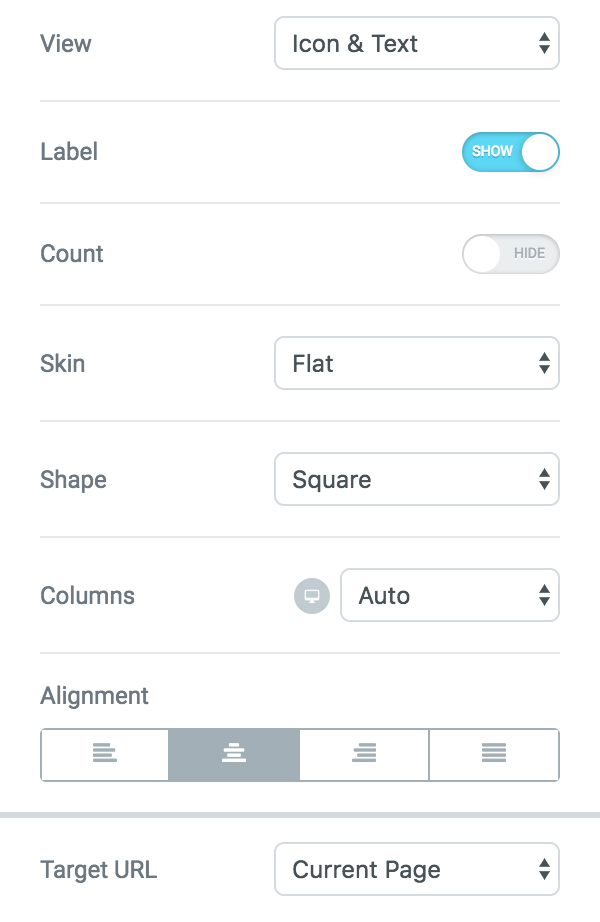
Here are the settings for the Share Buttons cake:
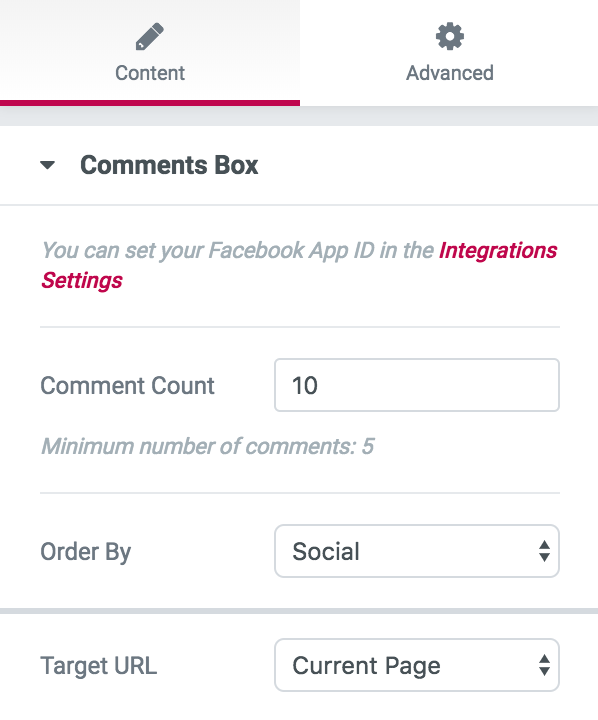
And hither are the settings for the Facebook Comments block:
If you prefer using WordPress native comments, no problem! Yous tin exercise that by using the Post Comments block instead of the ane for Facebook comments.
This is pretty much it when it comes to edifice your new single post template!
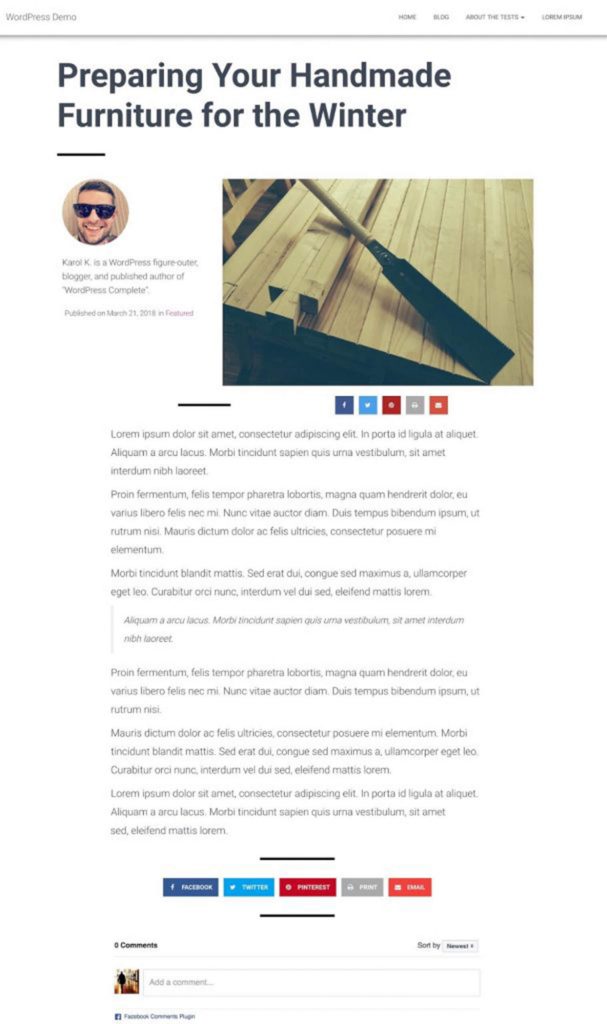
Hither'due south the final effect once more:
All that we have to practise now is salvage information technology and tell WordPress to begin using it.
First, click that juicy"PUBLISH" button in the bottom left corner.
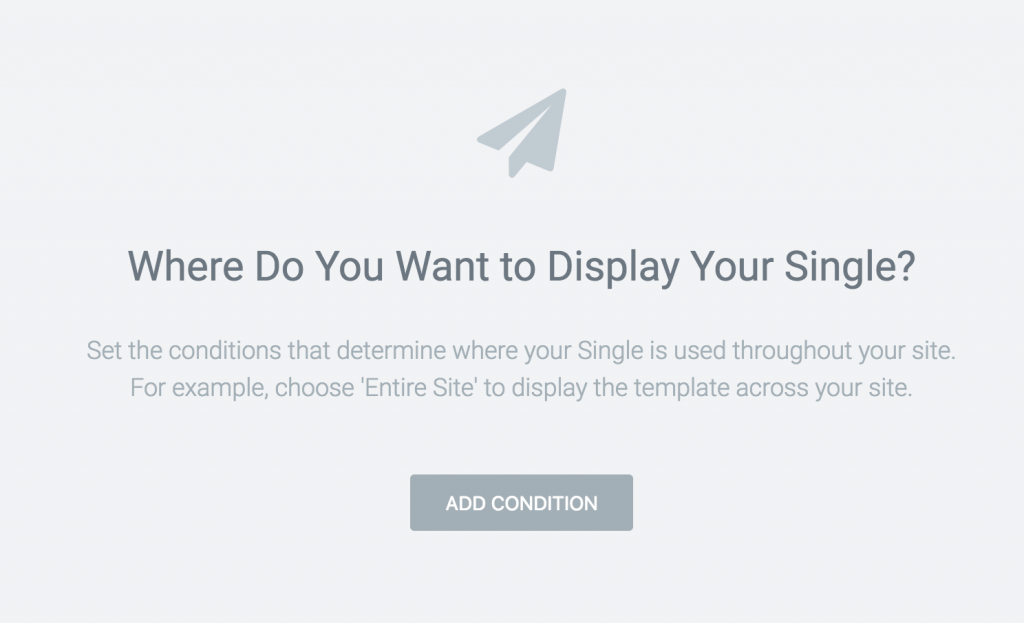
Elementor will ask where you want to brandish this new template. Setting this is pretty clever, and it works based onbrandish conditions that you can assign. Don't worry, this volition all be clear in a sec.
Kickoff past clicking on the"ADD CONDITION" button.
If you want your new template to replace the default template entirely so use the following setting:
Apart from that, you tin can customize this and assign your template to, say, simply specific blog categories, specific tags, or even individual blog posts.
- Here's how you assign to a specific post:
- Here's how y'all assign to a specific category:
- Merely at that place's more than. You can also combine conditions together. For example, here's how you tin exclude this template from a specific web log category while letting it testify for all the other ones:
Y'all can probably already come across how powerful this conditions thing can be!
It basically allows you lot to have multiple unmarried post templates for different occasions.
Once you click on the principal"PUBLISH" push button, your single postal service template will be enabled according to the weather condition yous've only prepare.
How easy was that?
Here's an example of a custom postal service template that's been created with Elementor.
Okay, so the question is what would you demand to do to end upwardly with the same event if you were to customize the source lawmaking of your theme by hand?
TL;DR: it'due south incommunicable.
Okay, okay … incommunicable is a strong word, merely it's actually nearly that.
First off, you lot have to be able to lawmaking, duh! And it's a pretty serious coding projection … PHP, WordPress, HTML, CSS, blueprint.
For case, allow'southward only cover that last thing – display weather for your template.
There'south no ready-to-apply construction or framework in whatsoever theme (or WordPress core itself) that would allow y'all to do that. You would demand to code that one up from scratch. And you lot likewise need some kind of an interface to then be able to employ it. This, on its own, is a rather large and complicated coding project.
Then, the unmarried post templates themselves. Or let'south not even make it plural. Let'southward focus on only replacing your theme's default template with one new i.
Offset, you demand to use a child theme for that. Otherwise, all your work volition vanish once the theme updates.
But, surprise! creating a new child theme is not always possible. For instance, if y'all utilise one of the pop theme frameworks then y'all're probable on a child theme already. And it merely so happens that WordPress doesn't allow you to create a child theme of a kid theme. So that's that.
Secondly, you'll need to empathise your theme's structure thoroughly before you tin can build a new template. This also means knowing how to create an additional CSS stylesheet that volition play along nicely with the theme'south default one.
Lastly, your template might go incompatible subsequently a theme update. Later all, the theme programmer might alter the structure of the theme from i version to some other, effectively forcing you to go back to the cartoon lath.
Though I'k sure some of you will immediately reply with an eager "challenge accustomed!", for the residue of us, mere mortals, a task like that is pretty close to impossible.
Okay, I promise I've got you on board and excited nigh the possibility to build some new, fully customizable templates for your single posts. All thanks to Elementor 2.0! Go ahead, accept it for a spin!
If you lot have any questions about the procedure presented here, don't hesitate to enquire. (Here are the answers to the most common questions about the new Theme Builder.)
Allow me know in the comments how you are going to use Elementor's Single template for your projects. You can download the complete template shown in this article hither .


0 Response to "How To Create Blog Post Template Wordpress"
Post a Comment